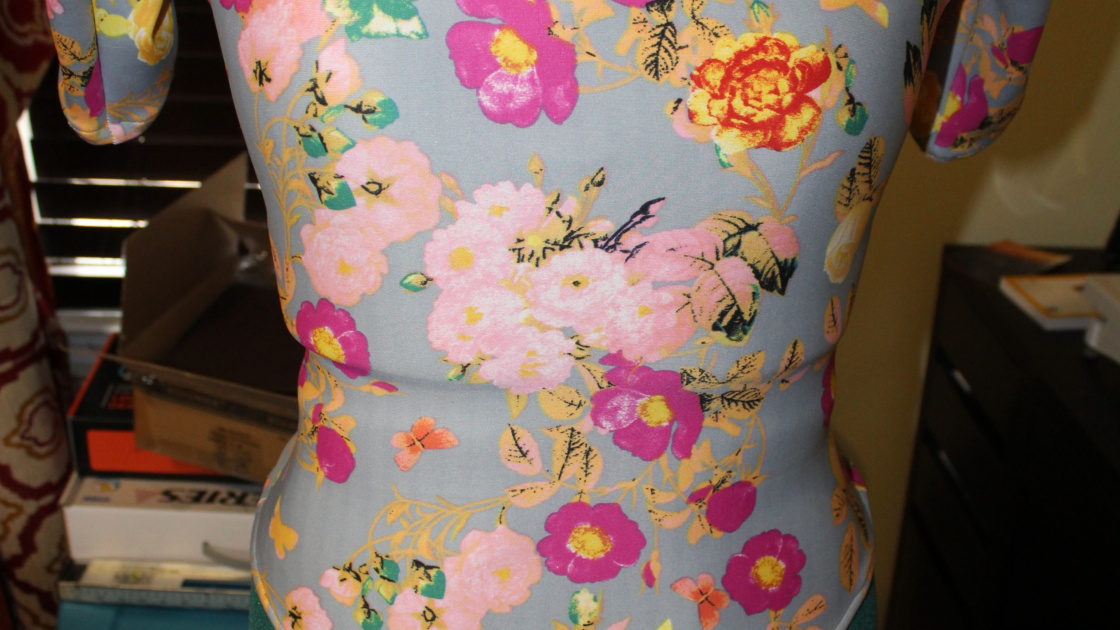
So this idea came from an old sewing book I was looking through. It had all these vintage looks and how to create them and I was looking for something that I could make using this bright floral print fabric. Can’t remember if it was a swimming suit or a body suit that caught my eye but either way I was sold on the look of it and searched for a pattern that was similar.
I came across the most amazing bodysuit pattern, but there was a slight hitch – it was only available in plus size. Despite my love for the design, I wasn’t quite up to the task of figuring out how to resize it to fit me perfectly. The thought of all the measuring and cutting involved seemed a bit daunting. However, I quickly realized that I had several other bodysuit patterns that I could use as a reference.
As much as I adored the pattern, I wasn’t willing to take the risk of potentially ruining it by attempting to adjust the size on my own. I knew that accuracy was key when it came to resizing patterns, and I didn’t want to end up with a bodysuit that didn’t fit me properly. Besides, I had plenty of other patterns that I could work with, so it didn’t seem worth the hassle.
In the end, I decided to set the plus-size bodysuit pattern aside and focus on the ones that were already the perfect size for me. While I was a bit disappointed that I couldn’t use the pattern right away, I knew that it was better to play it safe and stick to what I knew. Plus, having multiple options to choose from meant that I had plenty of opportunities to create beautiful bodysuits that fit me like a glove.
I used an off the shoulder body suit to trace. I cut out the sleeves attached to the suit so I only cut out 2 pieces. I also wanted to recreate the body suit “E” on the simplicity pattern so I cut out one long 2 inch wide strip.
I used my serger to attach the 2 bodysuit pieces at the arms and sides. I hemmed the neckline, sleeves, and leg openings. Sewed the strip together and turn right sides out to create the tie. I attached the tie and added the aglets at the end. After that, I sew on the snaps at the crotch and added elastic to the sleeves to create ruches.